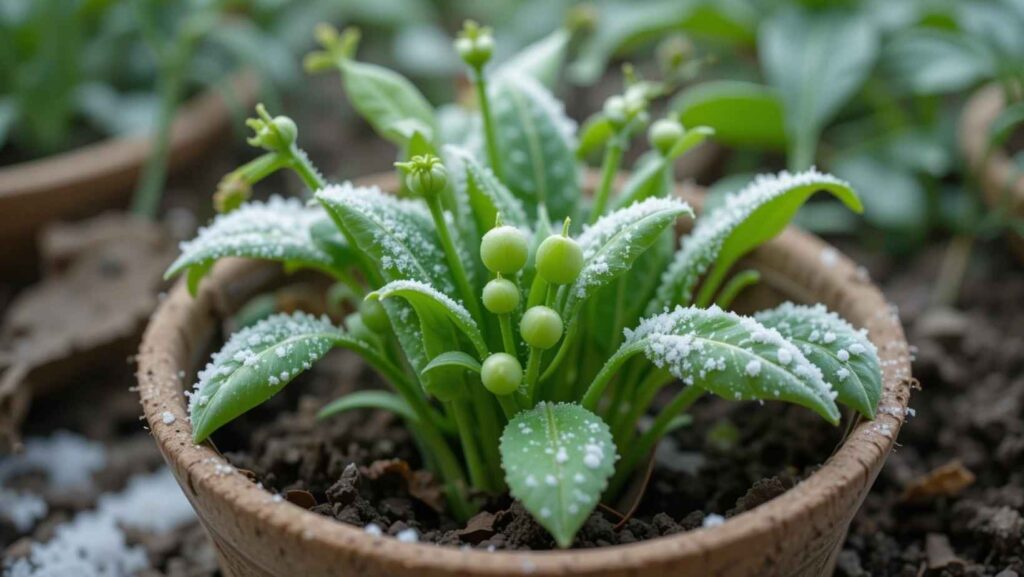
Would you want to know how snow peas grow? In my experience, snow peas grow as climbing vines that usually produce huge, flat, green pods after white, pink, or purple blooms. Particularly in warmer areas, they do well in full sun or light shade.
For optimal germination and development, snow peas are best seeded in the spring or fall since they are frost-tender. Directly plant snow pea seeds in prepared, moist soil.
Plant seeds at the base of your trellis or support, leaving 7 to 15 cm between each one.
Depending on your environment and the kind you select, snow pea seeds will sprout in 7–10 days and be suitable for harvesting 8–12 weeks after sowing.
But that’s not all; I’ll explain more about the topic as you continue reading.
Now, let’s get started
How to Grow Snow Peas
Before planting snow peas, you should make sure that the temperature is at least 45 degrees Fahrenheit (7 degrees Celsius) and that there is no possibility of frost in your region.
Even if snow peas are able to tolerate frost, it is preferable if it is possible to prevent it. Before you plant snow peas, the soil in your garden should be ready.
Check that it is sufficiently dry; if the dirt is clinging to your rake, it is not suitable for planting since it is too damp.
If you reside in a location that has severe spring rains, you should wait until after the rains finish.
Snow pea seeds should be planted at a depth of 1.5 to 2.5 inches (2.5 to 3.5 centimetres) and 1 inch (2.5 centimetres) apart, with 18 to 24 inches (46 to 61 centimetres) between rows.
Mulching around snow pea plants may help cool the soil in summer.
It depends on your local surroundings. This also helps minimise soil saturation following heavy rain.
Snow peas don’t grow in direct sunshine all day, so avoid planting there.
How do you sow and grow snow peas
The Plant Gardening app, which is free, includes snow peas. You will receive detailed instructions from the seed to harvest if you use it.
We refer to the many stages that each plant goes through as levels. The app notifies you when your plants are prepared for the next phase and provides detailed instructions for each one.
Because the app walks you through every step, you don’t need to know how to cultivate snow peas.
However, the stages are as follows if you want to learn more about them:
Level 1: Snow pea pre-sprouting
You want to assist your peas in developing their initial roots before planting them outside in your garden box. This is known as pre-sprouting.
It’s simple to pre-sprout: place the peas between two layers of moist paper towels. You may plant them straight into your garden box once they have germinated, which should take approximately 4 days.
Level 2: Pea Planting
Under the trellis, pick a square spot for your garden box’s rear row. Release the moisture MM- Combine and sow as follows:
Make eight holes in the patch, two to three centimeters deep, and select the most attractive peas with roots.
Place one pea in each hole, being careful not to damage the roots. Then, carefully cover the holes with the soil mixture.
Something will appear after one to two weeks. The time of year and the weather have an impact.
It will take a bit longer in a chilly early spring. By using a crop cover, such as the MM-Muts, over your snow pea field, you may expedite the process. Birds are also kept from nibbling at the peas.
LEVEL 3: Pea seedlings at level three
You can tell that everything is going well when you see the first seedlings. Most likely, they won’t all appear at once, but wait a week or two.
Level 4: Snow pea plant maintenance
Your seedlings will grow into little plants in a week or two.
There is very little for you to do. They’ll develop rapidly on their own. Simple
Level 5: Snow pea climbing
The plants support themselves by means of tiny tentacles. They ascend the trellis in this manner.
However, you must provide them with some assistance while they are still young.
Lead the snow pea tentacles to the trellis’s base; once they detect it, they will cling to it.
You will notice the first blossoms in a week or two.
Level 6: Snow peas in bloom
Beautiful butterfly flowers are already beginning to blossom on the vines. These blossoms will shortly give rise to the snow pea pods.
Level 7: The first snow peas are harvested
Harvest frequently and early. In this manner, the plants yield more pea pods and blossoms.
It’s common for the leaves to seem scraggly and become yellow at this point, especially on the undersides.
What are some effective methods for growing snow peas
To successfully cultivate snow peas:
1. **Select the Correct Variety:** Pick a snow pea variety that is appropriate for your climate and growth environment.
2. **Planting Time:** Make sure the soil has warmed up before planting in early spring or late summer for an autumn harvest.
3. **Sunlight:** Make sure you get at least six hours of full sun each day.
4. **Soil Preparation:** Make use of fertile, well-draining soil that has been enhanced with compost.
5. **Spacing:** Plant seeds in rows or a trellis system, 1 inch deep and 1-2 inches apart.
6. **Watering:** Make sure the soil is always damp but not soggy. To keep moisture in, use mulch.
7. **Support:** To assist the vines in climbing, use a trellis or other support structure.
8. **Fertilization:** During the growth season and upon planting, use a balanced fertilizer.
9. **Weeding:** To lessen competition for nutrients, regularly remove weeds.
10. When the pods are plump but before the peas within are fully developed, harvest the snow peas.
11. **Successful Planting:** For a continual yield, plant in successive batches.
What you need to know about snow peas
Categorized as Pisum sativum var. macrocarpon, snow pea, Chinese pea, and Chinese pea.
Height ranges from 1.8 to 2 meters, with dwarfs typically measuring approximately 0.6 meters.
Yearly plants are the kind.
A warm and chilly temperate climate, as well as a subtropical climate.
Perfect soil is well-drained and rich in organic materials.
Full sun is the position.
There are white blooms, and then there are green pods that are flat and green in color.
Silky, waxy, and ovate (egg-shaped) in form, the foliage is characterized by prominent venations.
Attached to the vine in pairs along its length.
Feeding: organic debris that has decomposed completely prior to sowing.
Watering: watering the soil on a regular basis will keep it wet.
How to Grow Peas From Seeds in a Garden
Step 1: Select a Site
Select a sunny spot in a location with well-drained soil since peas require at least six hours of sunlight every day.
Step 2: Make the Soil Better
Enhancing the soil before to seeding will provide the seedlings with a favorable start.
Simply adding two handfuls of Yates Dynamic Lifter Soil Improver & Plant Fertilizer to each square meter of soil will enhance it.
Soils that are mildly acidic to alkaline (pH 6.0–7.5) are ideal for peas. The use of Yates Hydrangea Pinking Liquid Lime & Dolomite helps elevate the pH of acidic soils.
Step Three: Planting Pea Seeds
Pea seeds are big and simple to plant. Since transplanted seedlings sometimes experience transplant shock, it is advisable to put pea seeds straight into the ground.
Make a small hole about 25 mm deep, then plant seeds at the spot marked on the variety’s pack. Water the seeds thoroughly and lightly cover them.
Please wait a few more days before watering the soil again since too much moisture might cause the seeds to decay before they sprout. It should take 7–10 days for the seedlings to appear.
Pea seeds should be sown in the spring in really cold climates since frost can destroy blooms.
Step 4: Initial Care for Peas
You might need to plant bamboo skewers or twigs in the ground close to the seedlings if the trellis or other support does not reach the soil level.
They have something to ascend until they get to the primary support because of this.
Water at the base of the plants to keep the soil wet. Avoid watering over the leaves to help lower the prevalence of fungal illnesses like powdery mildew.
The soil will remain wet if mulch, such as pea straw or sugarcane, is spread around the base of the plants.
One of the main issues for early pea seedlings is snails and slugs, especially in wet weather. Apply a little amount of Yates Snail & Slug Bait to seedlings to protect them from snails and slugs.
Step 5: Pollination and Pea Feeding
Regular feeding is crucial because healthy pea plants will provide a large harvest.
Yates Thrive Flower & Fruit Soluble Fertilizer should be applied to the plants every one to two weeks once the seedlings are established, which should happen four weeks following sowing.
Apply 1-2 spoonfuls at the base of the plants after mixing them in a 9-liter watering bucket.
Since peas are legumes, they will generate part of their nitrogen, which is a nutrient that encourages the growth of green leaves and stems.
However, potassium, which encourages blooming and pod development, is one of the additional minerals that pea plants need.
Potassium, which promotes peas, is abundant in Yates Thrive Flower & Fruit Soluble Fertilizer.
Although bees may be seen searching in the pea blooms for nectar, pea flowers often pollinate themselves before opening.
Harvesting Peas in Step Six
Eight weeks after seeding, peas will be ready for harvesting, depending on the variety. The best time to harvest snow peas is while the pods are still soft and flat.
When the pods are still young and fragile, sugar snap peas can be harvested. If not, let the pods develop on the vine until they are full of peas.
As soon as the pods are plump, shelling peas should be harvested.
Pick peas every two to three days to ensure the highest quality and a longer harvest season. To increase your harvest window, you can also plant subsequent crops every four to five weeks.
Final thought
Now that we have established how snow peas grow, Growing snow peas is simple and enjoyable, requiring little space or skill.
They make fantastic kids’ garden projects. Since they thrive in winter, you should start planting them around March.
They grow upwards and take up less space because they are climbing plants. If your yard gets 5-6 hours of sunshine and is shielded from severe winds, you can produce snow peas.
Get some seeds and a climbing frame (I bought mine from Bunnings for $25 and use it year after year, so I got my money’s worth), or create your own and some compost to mix in with the soil.
Plant the seeds 1cm deep around the frame’s base. Pour dirt over them and add sugar cane mulch to retain moisture. Water every day and seedlings should appear in a week.